Before proceeding with editing your DNS, you will need to know where it is managed. This can be done by checking your nameservers. For domains managed or registered at Valice, you can do this your my.valice.com account:
Check Nameservers
Log in to my.valice.com and follow these steps:
- Navigate to “Domains” > “My Domains”
- Click “Manage Nameservers” for the corresponding domain
- Note your Nameservers and proceed the the next steps based on which nameservers you are using


Follow these instructions if your domain is registered through your Valice account and your nameservers are pointing to:
- NS1.VALICE.COM
- NS2.VALICE.COM
- NS3.VALICE.COM
Manage DNS Zones
Log in to my.valice.com and follow these steps:
- Click on the “Domains” navigation menu item in the header and choose “Manage DNS” from the dropdown
- This will bring up a list of your domains with DNS support
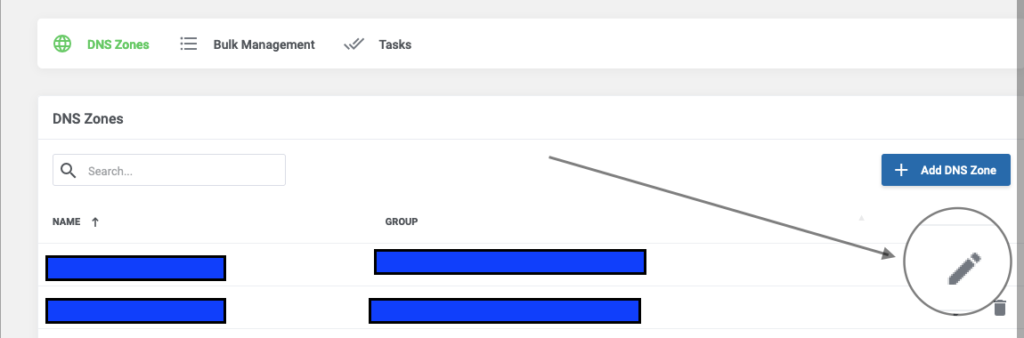
- Navigate to the domain you wish to update (if you have multiple domains) and click “Add Zone” if you have not entered any entries or “Edit Zone” to make changes to your already active DNS zones
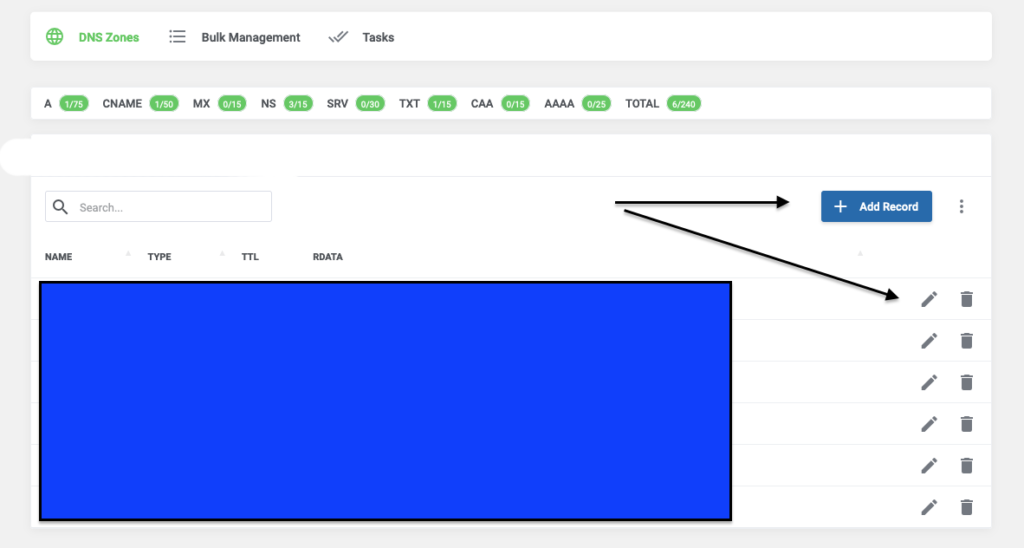
NOTE: If you do not see your domain here, click the blue “+ Add DNS Zone” button, select the corresponding domain registration or other DNS-supported product under “Related Item”, then the domain under “DNS Zone Name”, and then enter the primary A record IP address in the “IP Address” field (this will not automatically add your A record however, or any record.) - Proceed with creating your entries as needed
If you are unfamiliar with DNS zones and feeling a little overwhelmed here, create a ticket with questions or we can provide remote hands assistance.